RV Roof Vent Fan Replacement - MaxxAir and Fan-Tastic Vent
MaxxAir and Fan-Tastic roof vent fan repair and replacement across Florida. Motors, lift arms, rain sensors, brittle lids, flange resealed. Call 888-759-1438.
A roof vent fan that stops working stops being a fan problem within a season. The lid sits open or unsealed, rain and humidity reach the ceiling panel, and the job moves from a bolt-in fan to a stained ceiling and a soft roof deck. MaxxAir and Dometic Fan-Tastic fans share the industry standard 14 by 14 inch roof opening, so a failed unit is usually a direct swap plus a reseal of the flange it sits on.
What Owners Actually Call About: A Lid That Will Not Close
The call is almost never "my fan motor failed". It is a lid that will not close, a fan that hums without turning, a rattle overhead at highway speed, or a dark stain spreading on the ceiling panel around the vent trim. All four are the same assembly failing at different points. A roof vent fan is a plastic flange sealed and screwed through the roof, a 12 volt DC motor and blade hanging below it, a lift arm or geared actuator that raises the lid, and a garnish ring inside the coach that clamps the whole unit to the ceiling. Because that flange is a hole cut through the roof, anything that stops the lid seating becomes a water problem before it becomes an electrical one. A lid stuck half open during an afternoon storm puts rain straight onto the ceiling panel and down the interior wall, which is why this repair does not keep until the next trip.
Why Every 14 by 14 Vent Is Interchangeable
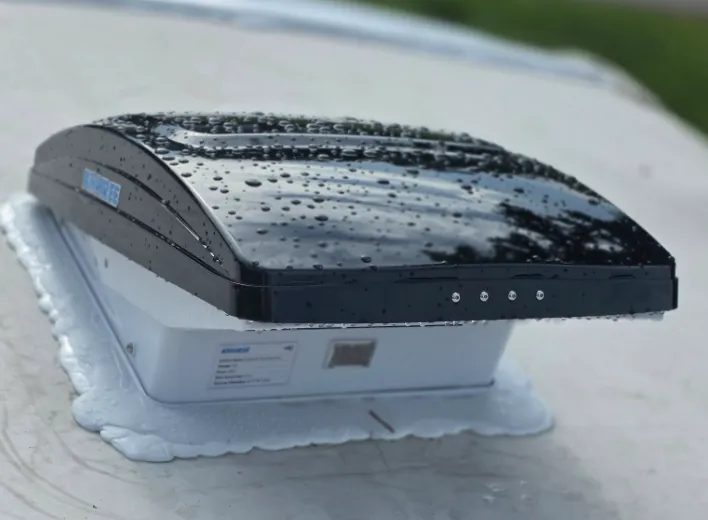
A 14 by 14 inch roof vent opening is an industry standard rather than a brand dimension. Dometic publishes a 13.78 inch square cut-out for the Fan-Tastic Vent 7350, and MaxxAir states that the MaxxFan Deluxe fits 14 inch by 14 inch rooftop openings. It is the same hole. That standard is the single most useful thing an owner can know about this part. A thirty year old manual crank vent, a dead Fan-Tastic and a new MaxxFan Deluxe all drop into the same opening, so the decision is about features and budget rather than about what the coach was built with. The upgrade most owners make is from a manual lid to a powered one. A manual lid is a hand crank or push-up arm with no motor at all, while a powered unit raises the lid on a switch; the Fan-Tastic 7350 adds a rain sensor that closes the dome when it gets wet and keeps a manual knob so the dome still closes if power is lost.
The Order a Vent Fan Gets Diagnosed In
Power is checked before parts, because the cheap findings sit at the front. A multimeter on the fan lead should read close to 12 volts DC with the switch on, and no reading there sends the diagnosis to a blown fuse, a failed switch or a chafed wire in the ceiling run instead of to a new fan. With voltage confirmed, the symptom splits three ways. A motor that hums but will not spin is seized or has a dead speed control; a motor that runs while the lid stays down is a broken lift arm or actuator; a lid that closes itself repeatedly on a dry day is a rain sensor holding a false wet signal, which owners usually describe as the vent having a mind of its own. The blade is worth a hand test at that point. A 12 inch blade that will not turn freely by hand has a bearing or a warped blade fouling the shroud, and that noise is often the original complaint.
The Lid and the Garnish Ring: What Sun and Storm Season Do
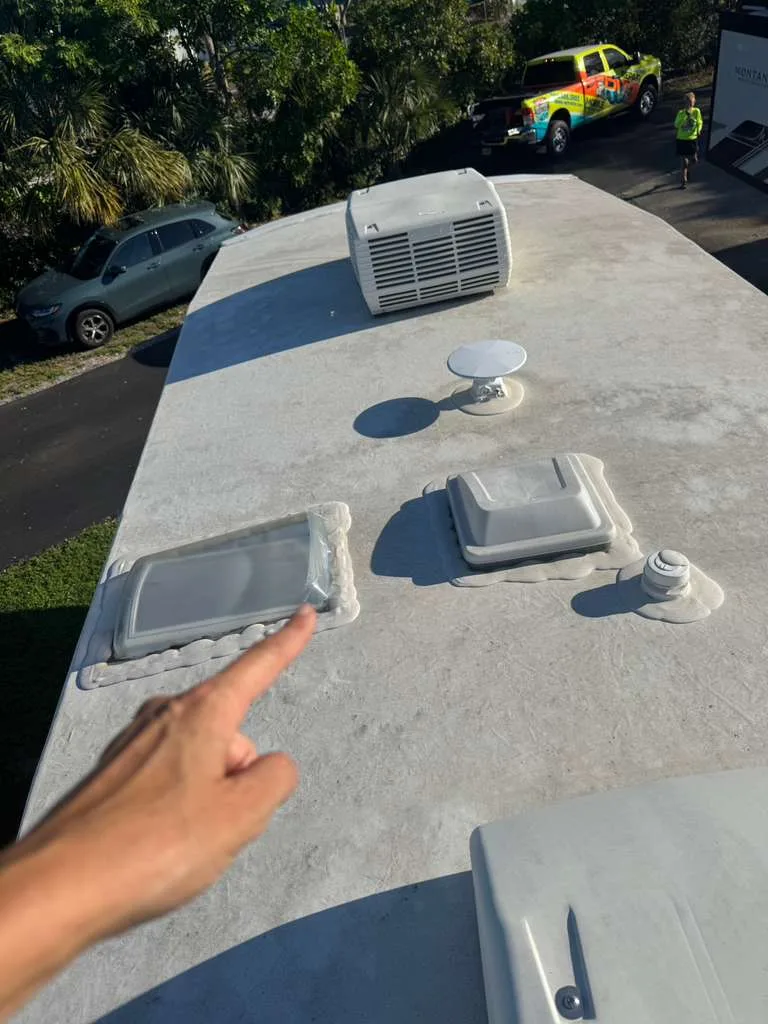
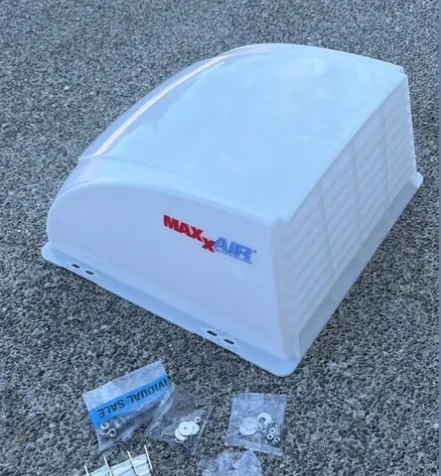
The lid fails on time rather than on use. Ultraviolet exposure drives plasticizer out of the molded plastic, so a lid that flexed when it was new goes rigid, crazes around the hinge bosses, and then shatters, frequently on the first highway run after it turned brittle. Storm season finishes it. Hail, a branch, or the pressure load on a lid caught half open in a gust will break a sun-aged lid outright, and a shattered lid leaves a 14 by 14 inch hole open to the sky. That is why a brittle lid is worth replacing before hurricane season rather than after a warning goes up. A broken lid does not always mean a new fan. MaxxAir builds the Unimaxx Vent Lid as a universal replacement that fits most rooftop vents on a universal hinge, so a sound motor and flange stay in service. The garnish ring inside is the other overlooked part, and its screws come out from inside before anything is cut loose above.
What Each Finding Costs, and Why a Fan Is the Cheap Fix
Diagnosis comes first and is priced as its own step. Parts sit on top of that, and no fixed price gets quoted on a fan nobody has looked at yet. The spread between findings is wide. A replacement lid, a lift arm or a garnish ring is a part plus about an hour, while a complete powered fan is the larger parts number and normally a single visit including the reseal. Set against that, a working fan is the cheapest real answer to a humid coach. Moving over 900 CFM out of the cabin is what keeps condensation off the ceiling and out of the cabinets, and the repairs that follow uncontrolled interior moisture, meaning ceiling panels, delamination and subfloor, cost several times what a vent fan does.
Run the fan on a wet week rather than only in summer. Moving air is what keeps interior humidity off the ceiling panels, and that is the failure this part actually prevents.
The Reseal That Has to Follow Any Fan Work
The flange is a roof penetration, so every fan job finishes as a sealing job. The hole under it is 13.78 inches square while the flange covering it is 16.5 inches square, which leaves about an inch and three eighths of flange bearing on the roof per side. That narrow band is the entire waterproof joint. The sequence is butyl tape under the flange, screws through, then self-leveling lap sealant over every screw head and the full flange perimeter on a surface cleaned back to bare membrane. Sealing over an old bead that has already released is the most common reason a fresh install leaks again within a year. Removing the old unit is the part that damages roofs. A plastic scraper and an oscillating multi-tool with a sealant blade lift the old bead without gouging the membrane, and the garnish ring comes out from inside first so the flange releases upward instead of tearing the ceiling panel with it.
Sources
Every figure on this page comes from a manufacturer document or a standards body, not from another repair site. Here is where each one comes from.
- MaxxAir - MaxxFan DeluxeMaxxFan Deluxe fits 14 inch by 14 inch rooftop openings, 10 speed reversible fan, built-in rain shield, thermostat and remote operation
- MaxxAir - Unimaxx Vent LidA universal replacement vent lid with a universal hinge that works with most types of rooftop vents, so a broken lid does not require a whole new fan
- Dometic - Fan-Tastic Vent 7350 roof fan13.78 inch square cut-out, 12 volt DC input, rain sensor that automatically closes the dome, automatic dome lift and a manual knob for closing the dome without power
- Dicor Products - self-leveling lap sealantThe self-leveling lap sealant used over the vent flange perimeter and screw heads after the fan is set
Related repairs
Other systems we service
Where we work
Service category
What this usually costs
| Item | Price | What it covers |
|---|---|---|
| Service call | $299 | Includes the trip out to your RV and the first hour on site |
| Work past the first hour | Quoted after diagnosis | We tell you what it will take before we carry on |
| Parts | Quoted per job | Special-order parts may need a deposit before we order them |
| Written estimate | No charge | You approve the estimate before any work starts |
The service call covers the trip out to your RV and the first hour on site. Anything beyond that depends on what we find, and we quote it and get your approval before carrying on.
The price ranges on this page come from our own recent jobs across Florida, not from an industry average. What you pay depends on the rig, the parts it needs and what we find on site, so we give you a written estimate before any work begins and you approve it first.
Frequently asked questions
Do you repair or replace roof vents?
Both, and the finding decides which. A lid, a lift arm, a garnish ring or a rain sensor is a repair on an otherwise sound unit. A seized motor on a fan already past a decade of Florida sun is usually replaced outright, because the lid and the lift arm on that same unit are the next two things to go. The flange gets resealed either way.
Can you fix manual roof vents?
Yes. A manual vent that will not stay up is normally a broken lift arm or a stripped crank gear, and both are replaceable without disturbing the roof penetration. If the lid itself is cracked, a universal replacement such as the MaxxAir Unimaxx Vent Lid fits most manual vents. A manual vent can also be converted to a powered MaxxFan or Fan-Tastic Vent in the same 14 by 14 inch opening.
Will a MaxxFan fit where my Fan-Tastic Vent was?
In the opening, yes. Both are built around the same 14 by 14 inch standard, with a cut-out of 13.78 inches square, so the hole does not change. What gets measured is the clearance below the roof deck, because the fan body hangs into the ceiling cavity and a ducted air conditioner plenum or a cabinet run can interfere. Both are 12 volt DC.
How long does a roof vent fan replacement take?
A straight swap into an existing 14 by 14 opening is normally one visit of a couple of hours: pull the garnish ring from inside, cut the old sealant, lift the flange, bed the new unit on fresh butyl, wire it and seal the perimeter. Sealant needs uninterrupted dry time afterwards, so the work gets scheduled around the afternoon storm pattern rather than into it.
Do I have to reseal after the fan is replaced?
Yes, and it is not optional. The flange is a hole cut through the roof held down by screws and sealant, so a fan set without butyl underneath and lap sealant over the screw heads is a leak on a delay. This reseal is part of the fan job itself, and it is a different piece of work from a full roof reseal, which covers every seam and penetration on the coach.