RV Sidewall Delamination Repair - Mobile Service in Florida
Bubble, ripple or soft spot in your fiberglass sidewall? Mobile RV delamination diagnosis, moisture mapping and injection repair. Call 888-759-1438.
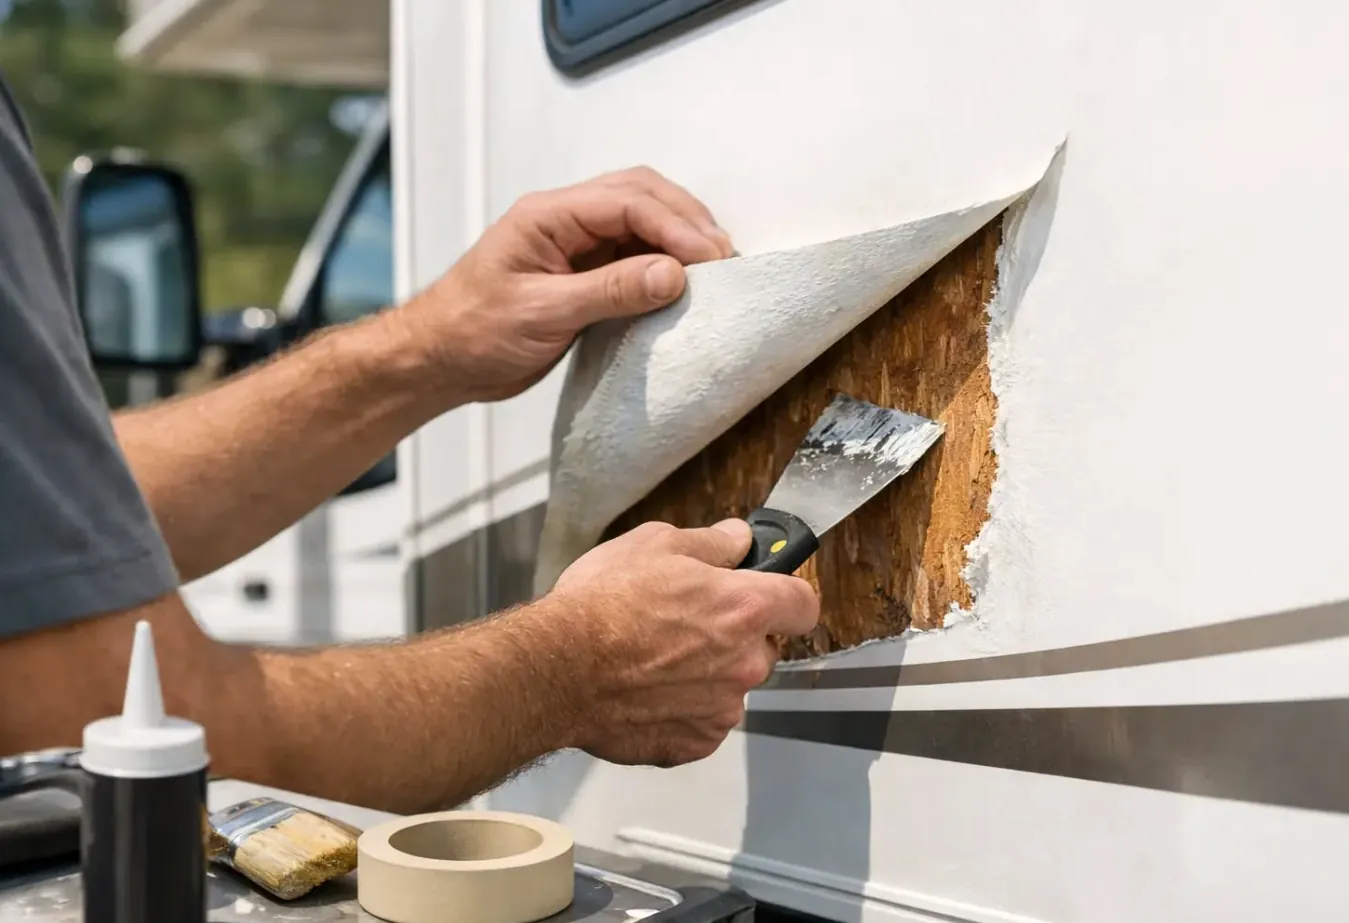
A bubble, ripple or soft spot in an RV sidewall is delamination: the adhesive bond between the fiberglass skin and the luan behind it has let go, almost always because water got in between the layers. The bubble is the symptom, not the leak. Our technicians find the water source first, usually a window seal, a clearance light gasket or the awning rail, then map the void by tap test and moisture meter before anyone talks about repair.
What Is That Bubble in My RV Sidewall?
An RV sidewall is a laminated sandwich, not a solid panel. Outside to inside it runs a gel-coated fiberglass skin, typically 0.030 to 0.090 inch thick, bonded to a sheet of 1/8 inch luan plywood, bonded to a block foam core around 1-1/2 inches thick with aluminum framing let into it, then an inner backer and the interior wall panel. The whole stack is glued at the factory with a polyurethane laminating adhesive and pressed flat, either in a vacuum bag or through a pinch roller. Almost nothing in that wall is mechanically fastened, so it holds its shape because those glue lines hold. Delamination is the adhesive bond releasing, and it usually fails at the fiberglass-to-luan line first. Luan swells as it takes on water, the swelling shears the glue, and the freed skin lifts into a bubble or a long ripple you notice in reflections along the side of the coach.
Where Are the Leaks Coming From on a Delaminated Wall?
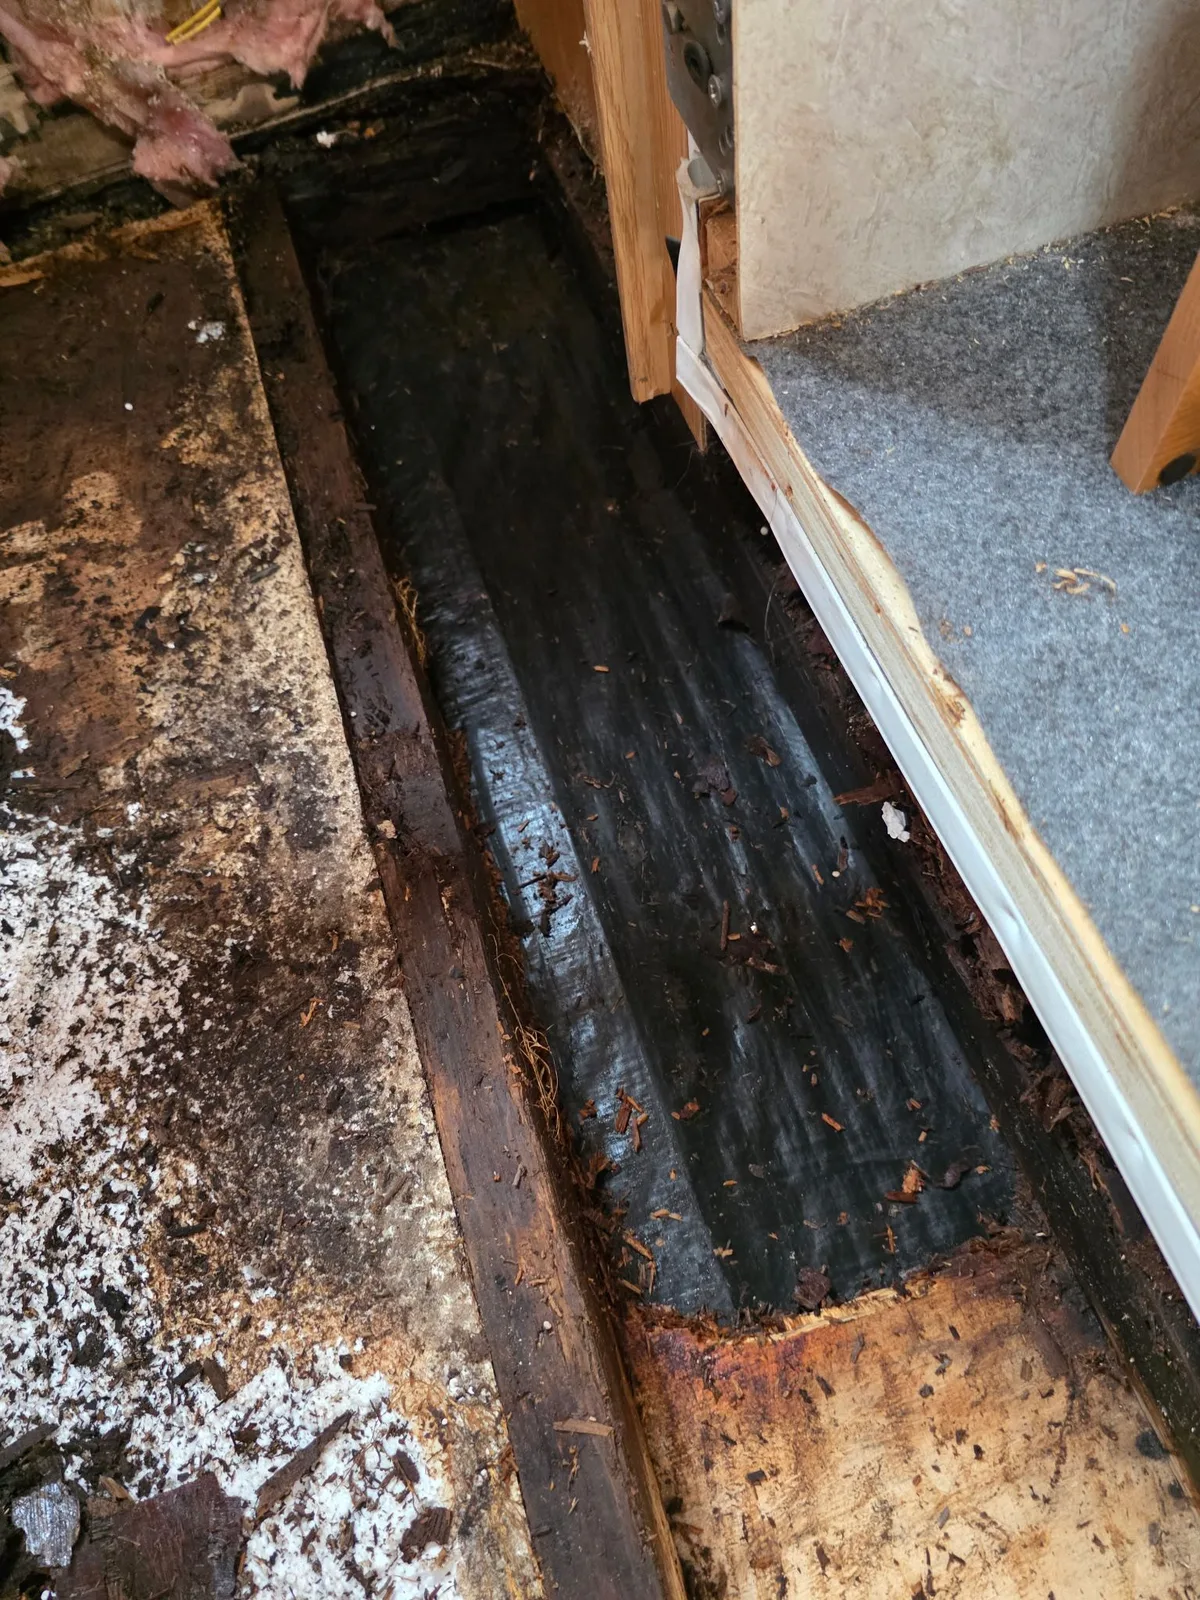
Owners ask us where the leak is, and the honest answer is almost never at the bubble. Water tracks down and sideways between laminate layers, so the visible void usually sits well below and off to one side of the actual entry point. Our technicians work the wall from the top down. The repeat offenders, roughly in the order we find them: butyl tape behind a window frame that has gone hard and pulled from the flange, clearance and marker light gaskets with screws backed out, the corner molding screw line, the awning rail, the entry door frame, the refrigerator vent flange, and the roof edge trim where the membrane wraps down onto the sidewall. Repairing the bubble without closing that entry guarantees it comes back, wider than before. If moisture readings keep climbing as we track down toward the floor line rather than stopping in the wall, we say so, because that is a separate subfloor scope.
How Our Technicians Map the Damage Before Quoting Anything
Assessment is three readings in one order, and none require opening the wall. First, the tap test. Our technicians work a plastic-tipped tap hammer across the panel on a rough grid and listen for the change, because sound laminate returns a sharp dead tick while a delaminated void answers with a hollow drum note. Every point where the note changes gets a strip of blue painter's tape, and that tape line becomes the boundary map we quote against. Second, moisture. A pin meter such as a Delmhorst BD-2100 read through an existing screw hole, backed by pinless sweeps across the skin, tells us what the luan is actually holding. Dry luan sits around 6 to 12 percent moisture content, roughly 16 to 20 percent means the adhesive is already compromised, and above 20 percent that luan is finished. Third, a press test at the center of the void. If it crackles under a thumb, the luan has broken up rather than simply unglued.
When Resin Injection Works and When It Is Lipstick
Injection repair is real, and it is also the most oversold fix in RV bodywork. The method is straightforward: drill 1/8 inch ports through the outer skin on a four to six inch grid inside the taped boundary, push a low-viscosity epoxy through a 60cc syringe until it weeps from the neighboring port, then clamp the panel flat with plywood caul boards and ratchet straps for a full 24 to 48 hour cure. West System 105 resin with 206 slow hardener buys back the working time Florida heat steals. Injection holds when the void is small, the substrate reads dry, the luan is still stiff, the outer skin is uncracked, and the leak is already closed. It fails when the luan is dark, soft or fibrous, when the meter reads over 20 percent, or when the void runs into a window corner. Epoxy will not bond to wet wood, and gluing soft luan to soft luan buys one season.
Why a Florida Sidewall Goes From Ripple to Panel Job
Heat is what turns a hand-sized delam into a whole wall. A dark or full-body-paint sidewall parked in direct sun reads in the 140 to 160 degree range on an infrared thermometer, and moisture trapped in the void turns to vapor and pushes outward against the skin. Every afternoon peels the bond a little wider, and every evening the cooling void draws a slight vacuum that pulls more water in through the same failed seal. That is why the same bubble looks different in August than it did in April, and why a west-facing wall degrades faster than the shaded side of the same coach. Left long enough, moisture reaches the framing and floor line, at which point it is no longer skin work but stud rot, subfloor repair or a mold finding.
Sources
Every figure on this page comes from a manufacturer document or a standards body, not from another repair site. Here is where each one comes from.
- WEST SYSTEM User Manual and Product Guide (Gougeon Brothers, September 2021 edition)Verified by reading the PDF. Surface preparation, section 3.1: all bonding surfaces must be as dry as possible for good adhesion, the surface to be bonded must be solid, and any flaking, chalking, blistering or old coating must be removed before sanding, because for high strength durable bonds the surfaces must be clean, dry and thoroughly abraded. That is the manufacturer basis for the rule that injection fails on wet or soft luan. Bonding, section 3.2: two step bonding is the preferred method because it promotes maximum epoxy penetration into the bonding surface and prevents resin starved joints, and clamps are attached only to hold the components while the applied epoxy cures, using just enough clamping pressure to squeeze a small amount of the thickened mix from the joint, with full cure before the clamps come off. Product Guide: 206 Slow Hardener is a low viscosity curing agent combined with 105 Resin at five parts resin to one part hardener, can be used for extended assembly times, and has a pot life at 25 degrees C of 20 to 30 minutes against 10 to 15 minutes for 205 Hardener, with the manual directing the use of a slower hardener in warm conditions to increase the open time.
- USDA Forest Products Laboratory, Wood Handbook, Chapter 14, Biodeterioration of WoodVerified by reading the PDF: fully air dried wood usually has a moisture content not exceeding 20 percent, which provides a reasonable margin of safety against fungal damage, and growth of decay fungi is prevented by drying wood to a moisture content of 20 percent or less and keeping it dry. That is the published basis for treating a moisture meter reading above 20 percent in the luan as the point where the substrate is finished rather than merely damp.
Related repairs
Other systems we service
Where we work
Service category
What this usually costs
| Item | Price | What it covers |
|---|---|---|
| Service call | $299 | Includes the trip out to your RV and the first hour on site |
| Work past the first hour | Quoted after diagnosis | We tell you what it will take before we carry on |
| Parts | Quoted per job | Special-order parts may need a deposit before we order them |
| Written estimate | No charge | You approve the estimate before any work starts |
The service call covers the trip out to your RV and the first hour on site. Anything beyond that depends on what we find, and we quote it and get your approval before carrying on.
The price ranges on this page come from our own recent jobs across Florida, not from an industry average. What you pay depends on the rig, the parts it needs and what we find on site, so we give you a written estimate before any work begins and you approve it first.
Frequently asked questions
Where are the leaks coming from if the bubble is in the middle of the wall?
Almost never from the bubble itself. Water enters at a fastener or a seal above it, then runs down between the fiberglass and the luan until something stops it. That is why our technicians moisture-map upward from the void to the nearest window frame, clearance light, awning rail or roof edge trim before proposing any repair. Sealing the entry point is the actual fix, and the laminate work is the second half of the job.
Is it a floor leak or a wall leak?
The meter answers that. Our technicians take readings in a vertical line from the void down to the floor line and along the bottom trim, and where the numbers stop climbing tells us where the water stopped. If readings drop off inside the wall, this is a sidewall job. If they stay high at the floor line and the floor flexes underfoot, subfloor is involved and we scope that separately rather than folding it into a laminate quote.
Can you come out to me, or does it have to go into a shop?
Diagnosis is fully mobile anywhere in Florida, and so is most small injection work. Our technicians need level ground, access to the affected side, and shade or an early start, because epoxy working time collapses on a hot panel. Full skin removal and panel replacement is shop work, so if the mapping shows that scope we tell you on the first visit instead of injecting resin into a wall that needs opening.
Can the bubble just be pushed back flat?
Only if the luan behind it is still sound and dry. Pressing a bubble flat without adhesive does nothing lasting, because the skin springs back as soon as the panel heats again. Clamping is only the second half of an injection repair, holding the layers together while resin cures. If the panel crackles when pressed, the substrate has already broken up and clamping just hides the damage until the next hot afternoon.
What does it cost just to have someone look at it?
The visit is a service call: the trip out to wherever the coach sits, plus the first hour on it, at the rate in the pricing table on this page. Anything past that hour is quoted after diagnosis and approved by you first. What you get for it is a taped boundary map, moisture readings at named points, an identified water entry source, and an honest call on whether injection is appropriate. We do not quote a repair number on a wall we have not read, because the same size bubble can be two very different jobs.
Is it leaking or broken? It looks fine inside.
Both, usually, and the inside is the last place it shows. A laminated wall can hold water in the glue line for a long time before anything stains the interior panel, which is why an exterior ripple often appears months ahead of a visible drip. By the time you see a wet spot inside, the luan is generally well past 20 percent and the scope has already grown from injection to panel work.