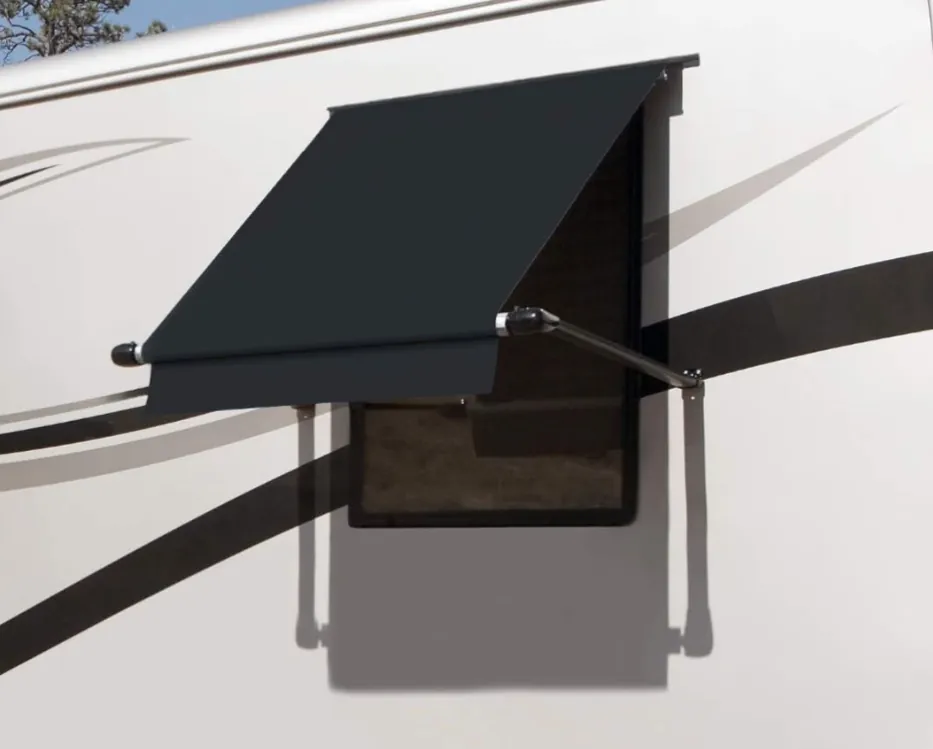
RV Window and Door Awning Repair: Sag, Springs, Sealant
Spring-loaded RV window and door awning repair across Florida. A sagging awning usually means soft sidewall behind the brackets. Call 888-759-1438.
An RV window or door awning is a spring-loaded canopy bolted straight through the sidewall, with no motor and no folding arms. It fails from ultraviolet exposure and fastener corrosion rather than mechanism wear, because almost nobody ever retracts one. A window awning that has started to sag is usually reporting that the wall behind its brackets has gone soft.
Why a Window Awning Fails Differently From a Patio Awning
A window awning is a spring-loaded roller tube hung in a rail above the glass, pulled open by a strap and closed by the spring winding it back. There is no motor, no torsion arm assembly and no wind sensor, so nothing on it fails electrically. On the Lippert Solera Window Awning the whole parts list fits in one line: awning rail 715216, two arm assemblies 383085, idler head 381475, drive head 382641 and roll tube 390199. That short list is exactly why these get ignored. Most owners never operate a window awning at all. It sits deployed or half deployed for years while the patio awning gets rolled up after every trip, so the fabric never gets a break from ultraviolet and the screws never get looked at. What ends a patio awning is mechanism wear. What ends this one is sunlight on fabric that is always out, and corrosion at the fasteners holding it to the wall.
The Fastener Line Is the Real System Here
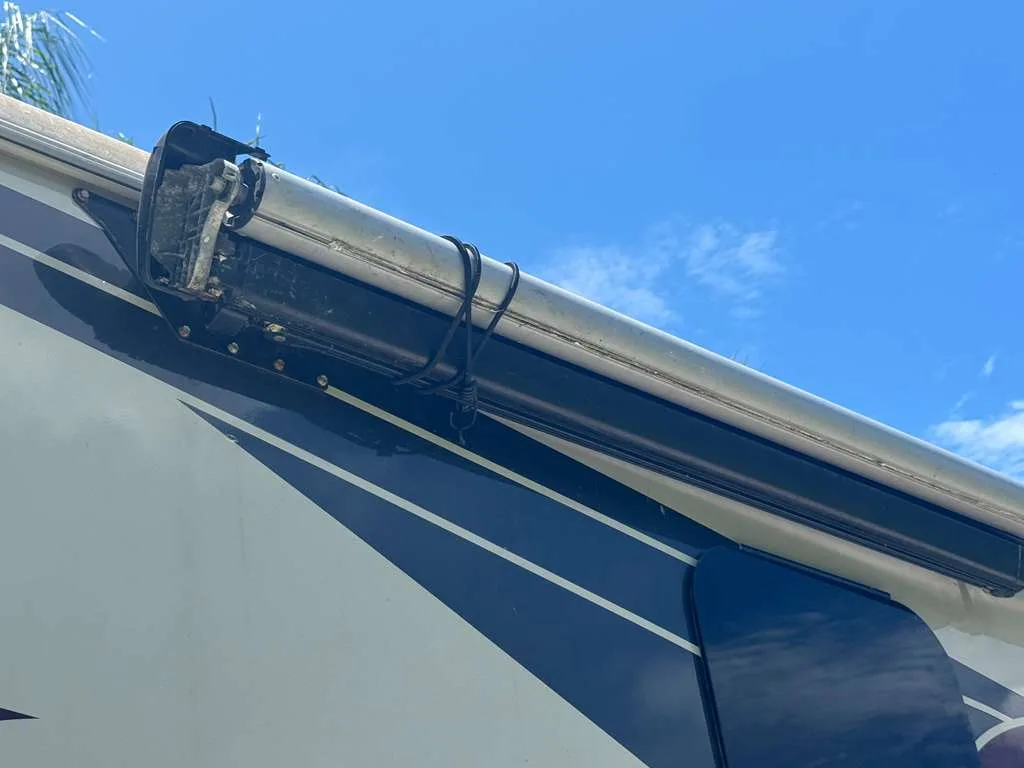
Strip away the fabric and a window awning is a row of holes drilled through your exterior wall and then sealed. Carefree's SL Window Awning manual is blunt about it: the screws mounting the awning must go into structure, and where there is no structure behind the skin the installer drills a 7/32 inch hole and sets a 3/16 inch moly rivet instead. Lippert splits the same decision by wall build. Its aftermarket manual calls for four 1/8 inch pilot holes and four #10-12 x 1 fasteners per arm into a sidewall with backer material, or four 3/16 inch holes and molly rivets into one without, with sealant applied at every fastening point and behind the rail before anything is driven. Count the penetrations on a six foot awning and it comes to roughly twenty five: seventeen #10 x 1 truss head screws in the rail, six in the lower arm brackets, two in the pull strap catch.
A Sagging Awning Is Reporting the Wall, Not the Awning
Sag shows up two ways. One arm bracket drops so the roller tube hangs crooked, or the rail bows away from the wall in the middle while both ends stay tight. Either way a fastener has stopped holding, and there are only two reasons for that. It was overtightened at install into material that cannot grip, which both manufacturers warn about in almost identical language, or water has been running down that screw hole long enough to turn the luan and framing behind it soft. The check is free and takes ten seconds. Press a thumb against the sidewall two inches below a dropped bracket, then press the same spot three feet to the side. Flex, dimpling or a spongy feel on one and not the other means the awning is no longer the job. Left alone, that wet core migrates along the wall and comes back later as delamination, a bubble that costs several thousand dollars to open up and rebuild.
The Door Awning Takes Abuse a Window Awning Never Sees
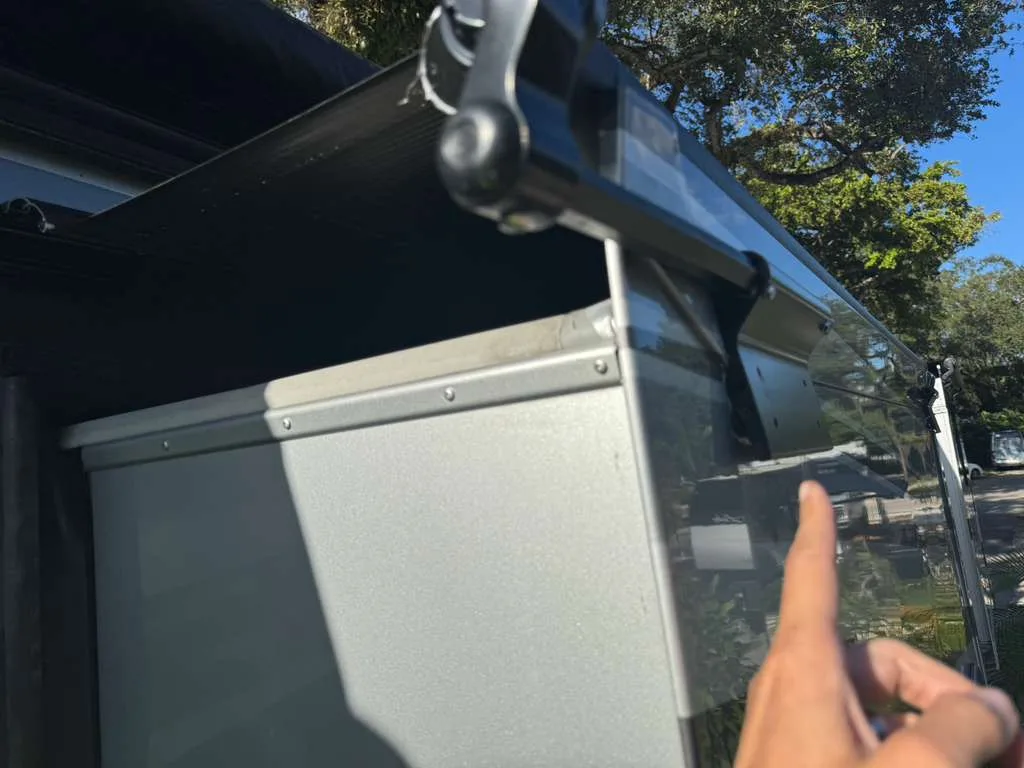
Carefree lists these products under one heading, over the door and window awnings, because the hardware is the same. The service life is not, because the entry door awning gets handled. People grab the roller tube for balance on the top step, the screen door slams up into the valance, and the awning sits directly above the one spot on the coach that gets used dozens of times a day. Grabbing a spring-loaded roll tube twists it against a spring that is already wound, and that load lands on the two lower arm brackets. Geometry works against it too. The pull strap catch needs clear wall below the rail, 41 inches for the standard 18 inch arm and 65 inches for the 33 inch XL arm, and above a door that wall is interrupted by the frame, the grab handle, the porch light and the step. The catch ends up wherever it fits, and a catch in the wrong place holds the fabric crooked forever.
What Gets Checked, and In What Order
Callers describe this as a system, not a part. Two of the most common openers on our recorded calls are can somebody come out for a detached awning and can you get and install an awning part, and the first question back is always what brand awning is it. The order matters. First the variant code on the fabric or roll tube, because Solera and Carefree hardware do not interchange. Second a hand load test on each bracket and the rail. Third a moisture check of the sidewall at every fastener line. Fourth the sealant bead behind the rail and the retaining screws through rail, polycord and fabric. Last, spring behavior, because a tube that stalls halfway or slams the wall is a spring problem, not a fabric problem. Our service call covers the trip out and the first hour on site at the rate in the pricing table on this page; anything past that first hour is quoted and approved before we carry on.
Repair, Replace or Delete: The Honest Fork
Three outcomes are on the table and only two of them get quoted by most shops. Rebedding is the cheapest: pull the rail, clean off the old sealant, upsize or rivet the compromised holes, lay fresh urethane or butyl putty tape and reset it, usually an hour or two of labor plus materials. Replacement makes sense when the fabric is chalked through, the arms are pitted or the roller tube is bent, and it is priced as parts plus labor once the wall behind it has been cleared as sound. Deletion is the option nobody offers. Plenty of owners have never once pulled that strap, and for them the right answer is removing the awning, backing and sealing all twenty five holes properly and leaving a clean wall. It is not free, since each hole has to be cleaned and bedded rather than smeared over, but it permanently retires a leak path instead of renewing it.
Sources
Every figure on this page comes from a manufacturer document or a standards body, not from another repair site. Here is where each one comes from.
- Lippert Support: Solera Window Awning documentationThe Solera Window Awning is a distinct Lippert product line with its own assembly drawing, component list and manuals, separate from the patio awning range.
- Lippert CCD-0001283, Solera Window Awning Installation and Owner ManualRail set roughly 3 inches above the window frame with sealant behind it, four 1/8 inch holes and #10-12 x 1 fasteners into a wall with backer material or 3/16 inch molly rivets into one without, cotter pins holding factory preset spring tension, and the 41 inch and 65 inch pull strap clearances for the standard and XL arms.
- Lippert CCD-0001997, Window Awning ComponentsPart numbers for the window awning assembly: awning rail 715216, arm assembly 383085, idler head 381475, drive head 382641 and roll tube 390199.
- Carefree of Colorado 052533-001r9, SL Window Awning Installation and Operations ManualScrews must go into structure, and with no structure the installer drills 7/32 inch and sets a 3/16 inch moly rivet; rail seated a minimum of 3 inches above the window frame; 17 rail screws on awnings under 8 feet; do not overtighten into fiberglass or aluminum.
- Carefree of Colorado 070024-001r5, Simply Shade Window Awning Installation and OperationComponent counts for a window awning kit, including six #8 x 1 base attach screws and two #10 x 3/4 pull strap catch screws, sealant behind the rail and brackets, and removal of the spring locking pins after mounting.
Related repairs
Other systems we service
Where we work
Service category
What this usually costs
| Item | Price | What it covers |
|---|---|---|
| Service call | $299 | Includes the trip out to your RV and the first hour on site |
| Work past the first hour | Quoted after diagnosis | We tell you what it will take before we carry on |
| Parts | Quoted per job | Special-order parts may need a deposit before we order them |
| Written estimate | No charge | You approve the estimate before any work starts |
The service call covers the trip out to your RV and the first hour on site. Anything beyond that depends on what we find, and we quote it and get your approval before carrying on.
The price ranges on this page come from our own recent jobs across Florida, not from an industry average. What you pay depends on the rig, the parts it needs and what we find on site, so we give you a written estimate before any work begins and you approve it first.
Frequently asked questions
Do you repair RV window awnings, or only replace them?
Both. Plenty of window awnings only need the rail rebedded, a bracket relocated into structure, a pull strap catch reset or a moly rivet where a stripped screw used to be. Replacement is the answer when the fabric has chalked through, an arm is pitted or bent, or the roller tube no longer holds spring tension. The wall gets inspected first either way, because mounting new hardware into soft framing wastes the part.
Why is my window awning sagging on one side?
Almost always a fastener that has stopped gripping. Either it was overtightened at install into fiberglass or aluminum skin with no structure behind it, which both Carefree and Lippert warn against, or water has been tracking down that hole and softened the wood behind the wall. Press the sidewall just below the dropped bracket and compare it with a spot three feet away. Spongy means the sag is a symptom, not the fault.
Can a window awning be removed instead of replaced?
Yes, and it is often the better call on a coach where nobody has used it in years. Removal means taking out the rail, arms and catch, then backing and sealing roughly twenty five holes so each one is genuinely closed rather than covered in a bead of sealant. That retires a permanent water intrusion path. It does not repair a wall that has already gone soft, which is a separate job.
What does window or door awning work cost?
A rebed and reseal of a sound rail sits at the light end. What decides the number is what the sidewall under that rail is doing. If the fasteners have been working loose and water has been getting in behind the rail, the job stops being an awning repair and becomes a sidewall repair with an awning attached. Nobody should quote a fixed figure on a sagging awning before that has been checked.
Can I just buy the part and install it myself?
The parts are orderable, but two things catch people out. The spring locking pins or cotter pins hold factory preset tension, and once they are pulled the roll tube will try to close hard enough to injure whoever is holding it. The second is that the fasteners have to land in structure, and finding structure behind a finished sidewall without opening it is the actual skill in this job.