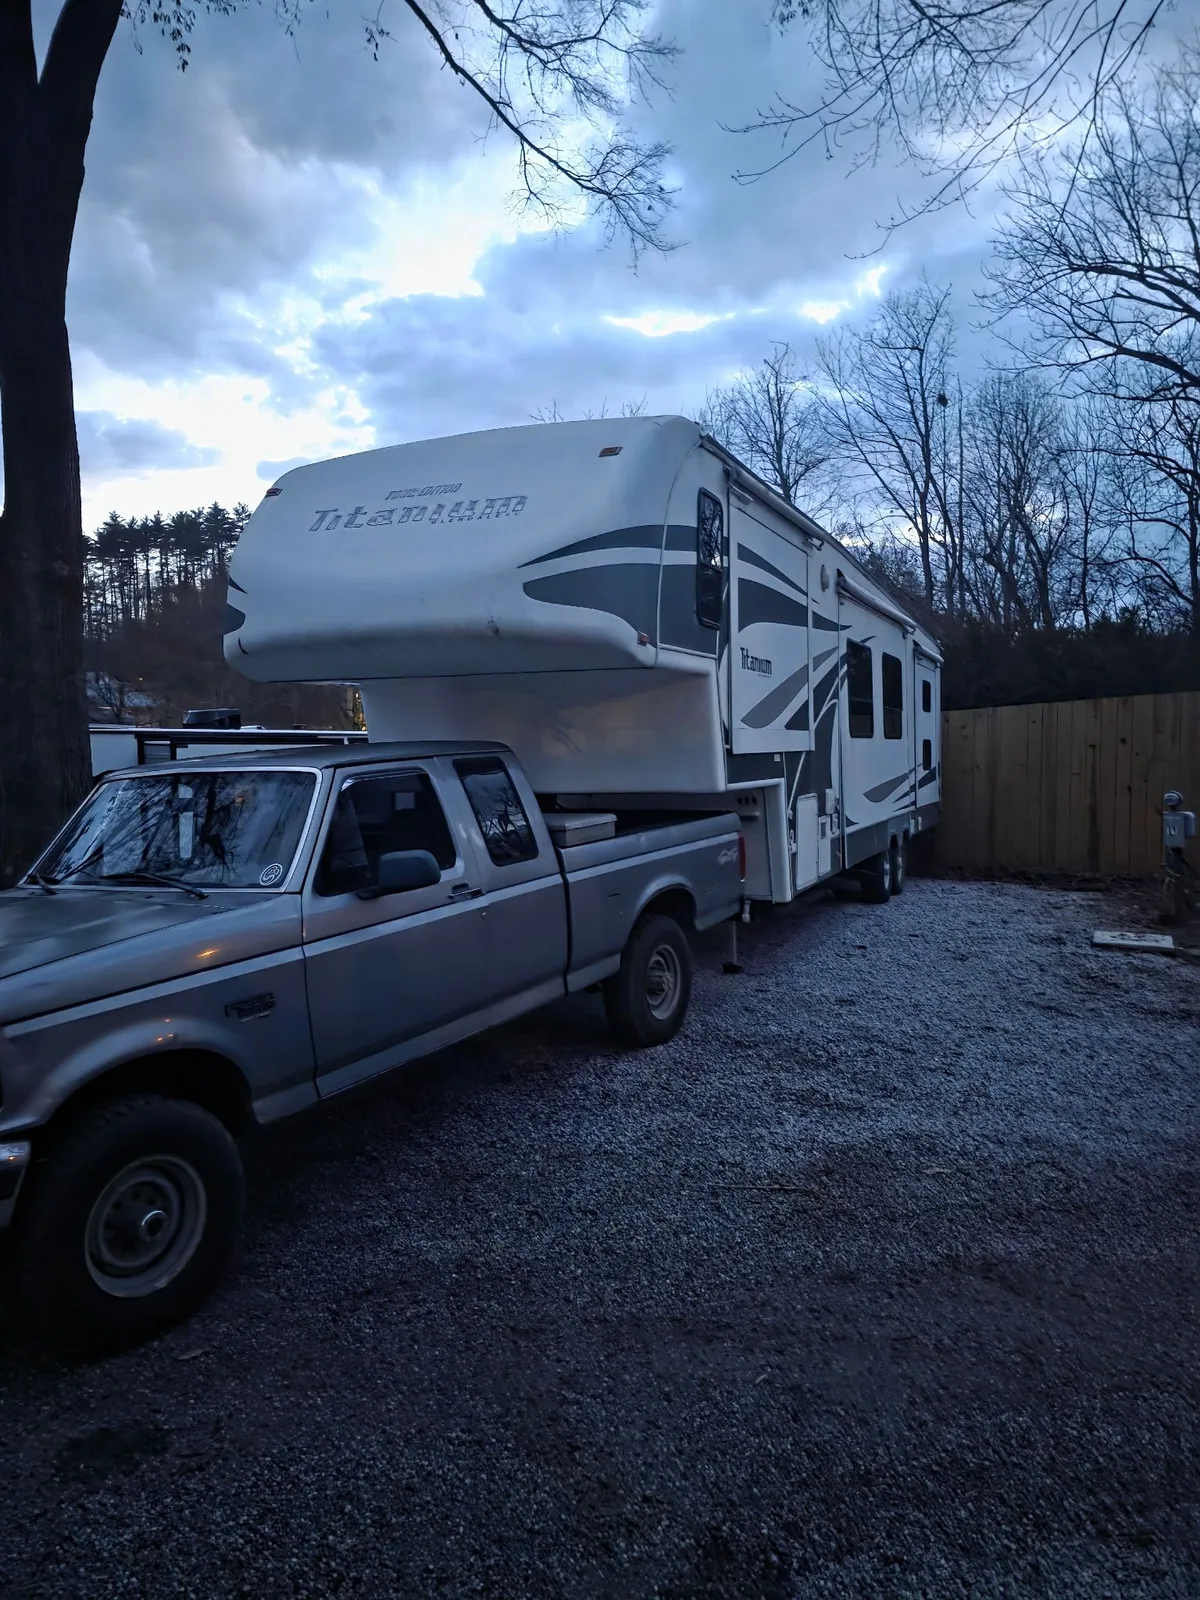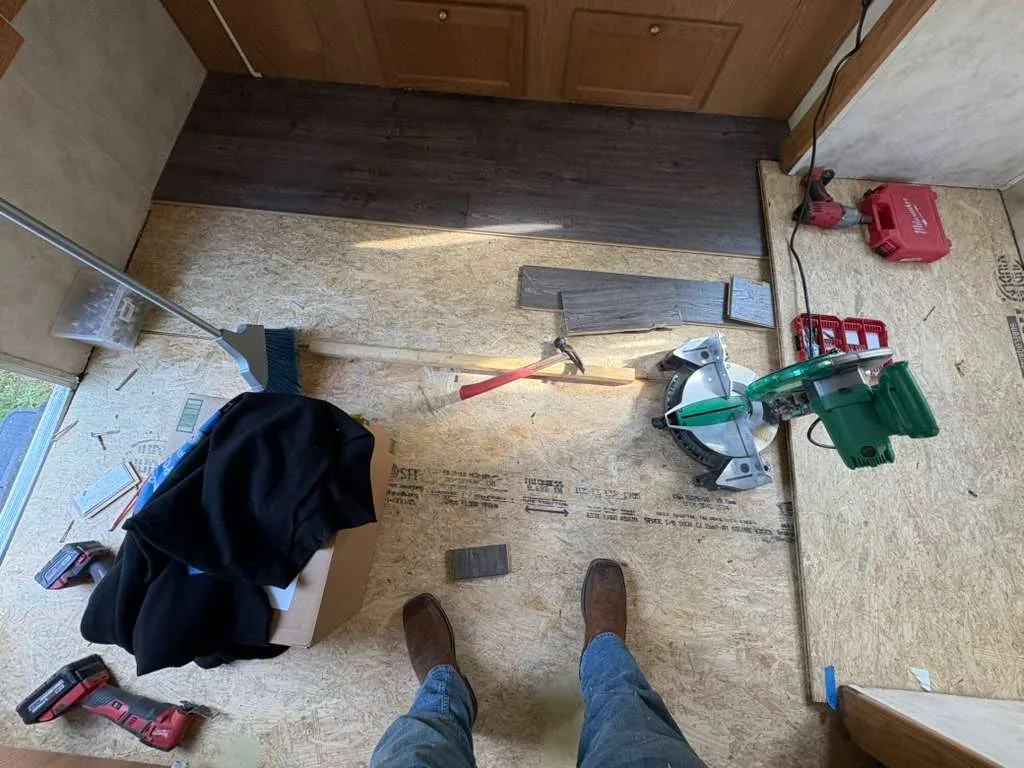
7 Warning Signs of RV Water Damage You Can't Ignore
Water damage is the biggest threat to any RV in Florida. Catch these seven signs early and save thousands in repairs.
Water damage is the biggest threat to any RV in Florida. Catch these seven signs early and save thousands in repairs. For professional help, call Apex RV Repair at 1-800-273-9787.
Water damage is the biggest threat to any RV in Florida. Catch these seven signs early and save thousands in repairs. This guide covers everything Florida RV owners need to know about this topic, from understanding the basics to knowing when professional help is needed.
As RVIA-certified technicians who have completed over 5,200 repairs across Florida, the Apex RV Repair team sees these issues firsthand every day. This article shares practical knowledge gained from years of field experience in the Florida climate.
Understanding the Problem
Florida's subtropical environment creates conditions that challenge every RV system. Average summer temperatures exceed 90 degrees, humidity often surpasses 80 percent, and UV radiation is among the highest in the continental United States. These environmental factors combine to accelerate wear on components that might last significantly longer in cooler, drier climates.
Most RV owners first become aware of an issue when a system underperforms or fails entirely. However, many problems develop gradually over weeks or months before reaching a critical point. Understanding what to look for and when to take action can save substantial money and prevent being stranded at an inopportune time.
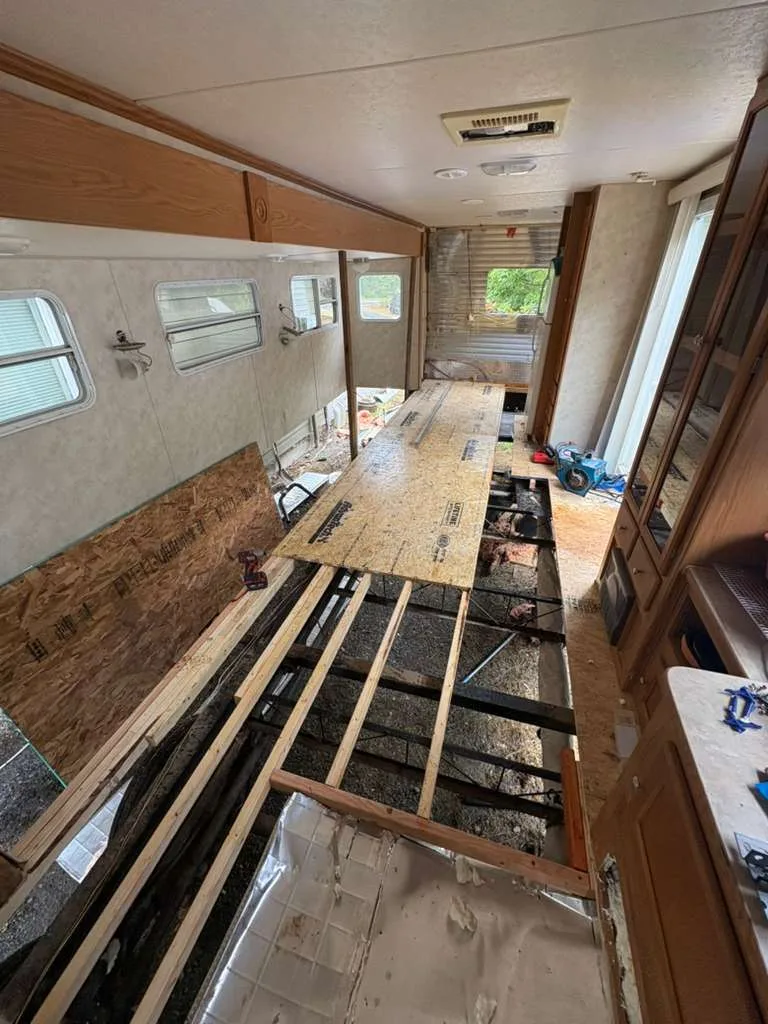
Key Factors Florida RV Owners Should Know
The first thing to understand is that Florida's climate is particularly demanding on recreational vehicles. Manufacturers design RV components for a range of climates, but the sustained heat and humidity of a Florida summer push these components to the upper limits of their designed operating envelope.
Salt air presents an additional challenge for coastal Florida RV owners. Corrosive salt spray can travel 20 or more miles inland during storms. This salt deposits on exposed metal surfaces, electrical connections, and rubber seals where it accelerates degradation.
UV radiation breaks down rubber, plastic, and fabric components. Roof seals, awning fabric, tire sidewalls, and exterior trim all degrade faster under Florida's relentless sun. Owners who store their RVs outdoors should inspect UV-exposed components every three months.
Common Issues and Solutions
Based on our service records across Florida, here are the most frequent issues we encounter related to this topic and the typical solutions that resolve them:
- Premature component failure - Florida's heat shortens the lifespan of rubber seals, capacitors, and plastic components. Regular inspection and timely replacement prevents cascading damage.
- Corrosion on electrical connections - Humidity and salt air corrode terminal connections, causing intermittent problems that are difficult to diagnose without proper equipment.
- Moisture intrusion - Florida's frequent rain combined with degraded seals allows water into walls, floors, and ceilings where it causes hidden damage.
- Pest intrusion - Florida's year-round warm temperatures mean insects and rodents remain active and can damage wiring, insulation, and ductwork inside RVs.
- Mold and mildew growth - High humidity promotes mold growth in poorly ventilated areas of the RV, particularly inside cabinets, under mattresses, and behind wall panels.
Prevention and Maintenance Tips
Prevention is always more cost-effective than repair. Here are practical steps Florida RV owners can take to minimize problems:
Schedule a professional inspection at least once per year. For RVs stored outdoors in coastal areas, twice-annual inspections are strongly recommended. A trained technician with professional-grade equipment catches issues that visual inspection misses.
Run all systems monthly, even during storage. Air conditioners, generators, water pumps, and slide outs all benefit from regular operation. Seals stay lubricated, moving parts remain free, and you discover problems when you have time to schedule a repair rather than when you need the system urgently.
Maintain proper ventilation inside the RV during storage. Moisture is the enemy. Dehumidifiers, moisture absorbers, and cracked windows all help prevent the stagnant, humid conditions that promote mold growth and corrosion.
Annual Inspections
Professional inspection catches problems early. Florida climate demands more frequent checks than northern states.
Monthly System Exercise
Run every system for 10-15 minutes monthly during storage to keep components operating properly.
Seal Inspection
Check all roof and window seals quarterly. Florida UV degrades sealant faster than in temperate climates.
Ventilation
Maintain airflow during storage to prevent mold and moisture damage in Florida's humid environment.
When to Call a Professional
Some RV maintenance is well within a typical owner's capabilities. Checking seals, cleaning condenser coils, and testing basic electrical functions are reasonable DIY tasks for someone comfortable with tools and willing to learn.
However, certain situations require professional expertise and equipment. These include any repair involving propane or LP gas systems, electrical work beyond replacing fuses or light bulbs, roof repairs that involve removing or resealing major components, and any situation where you are unsure of the correct diagnosis.
Attempting complex repairs without proper knowledge can cause additional damage or create safety hazards. A professional diagnosis often saves money in the long run by identifying the actual problem on the first visit rather than the trial-and-error approach that can characterize well-intentioned DIY attempts.
Cost Expectations
Understanding typical costs helps you budget and also identifies when a quoted price seems unreasonable. Basic service calls for straightforward diagnosis and minor repair typically range from $100 to $300. Mid-range repairs involving component replacement generally fall between $300 and $800. Major repairs or system replacements can run from $800 to $3,000 or more.
Apex RV Repair provides a phone estimate before scheduling and an exact on-site quote before starting any work. This eliminates surprise charges and lets you make an informed decision about whether to proceed with the repair.
Need Professional Help?
Call Apex RV Repair at 1-800-273-9787 for a phone estimate. Mobile service available across all of Florida. Same-week appointments in most metro areas.
Additional Resources
For more information on RV maintenance and repair, we recommend the following resources:
- Recreational Vehicle (Wikipedia) - comprehensive overview of RV types and systems
- RVIA - the industry association that sets standards for RV manufacturing and service
- Apex RV Repair Services - our complete list of 15 service categories
- Schedule a Service Call - request an appointment online
If you have questions about your specific situation, call us at 1-800-273-9787. Our team is happy to provide guidance over the phone, even if you ultimately decide to handle the issue yourself. We would rather give you good advice than see a small problem turn into an expensive repair because of incorrect information.
Frequently Asked Questions
What is the main takeaway from this article?
The key point is that Florida's climate demands more frequent RV maintenance than other states. Heat, humidity, salt air, and UV radiation all accelerate component wear.
Can Apex RV Repair help with the issues discussed here?
Yes. Apex RV Repair handles all of the repairs and maintenance discussed in this article. We provide mobile service across all of Florida. Call 1-800-273-9787 for a phone estimate.
How often should I inspect my RV in Florida?
We recommend professional inspections at least once per year. RVs stored outdoors or near the coast should be inspected twice annually. Visual self-inspections should be done quarterly.
Is it better to DIY or hire a professional?
Basic maintenance like seal inspection, coil cleaning, and testing is fine for DIY. For anything involving gas, complex electrical work, or structural repair, professional service is safer and usually more cost-effective.
How do I schedule a service call with Apex RV Repair?
Call 1-800-273-9787 or submit a request through our online form at apexrvrepair.com/contact/. Most appointments are available within the same week across all of Florida.
What does Apex RV Repair charge for related services?
Basic repairs start around $85-$150. Most common repairs range $200-$800. We provide a phone estimate before scheduling and an exact on-site quote before starting work.
Does Apex serve my area of Florida?
Apex RV Repair serves all of Florida from the Panhandle to the Keys, including Miami, Orlando, Tampa, Jacksonville, and 20+ other cities.
What qualifications do your technicians have?
All Apex RV Repair technicians hold current RVIA certification. Our founder Marcus Rivera has 18+ years of hands-on RV repair experience.